Nick Shubin
Creating Bas-relief Text in Art Text
December 23, 2009
Art Text uses shaders to create 3D-like text and images. You just need to apply a material. Rendered objects are embossed. You can create bas-relief text or image as well. Here are described two ways:
Using a Special Material
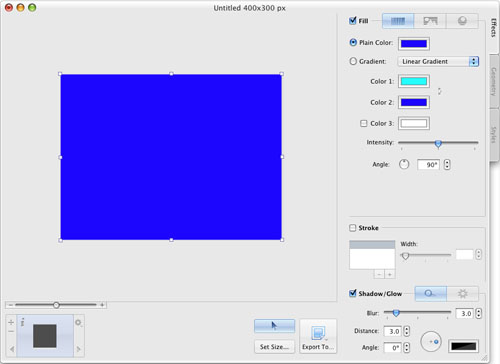
- Replace the default text with a rectangle to create the background. Choose Format > Resize to Document in the menu.

- Choose the color of the background. You can also apply a texture. Note that it is easier to set up the material's properties in the following steps with a neutral color in the background, and apply a texture at the end.
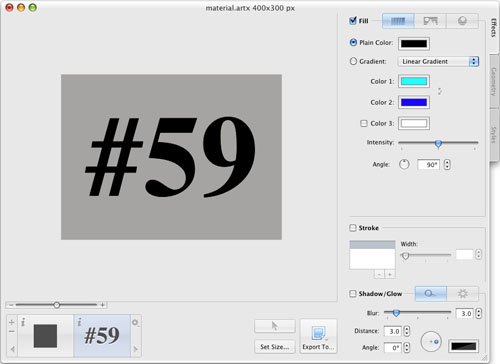
- Add a new layer with text or an icon. We are using text in this example. Adjust its size and place it to the proper position.

- Deactivate the shadow effect for both layers.
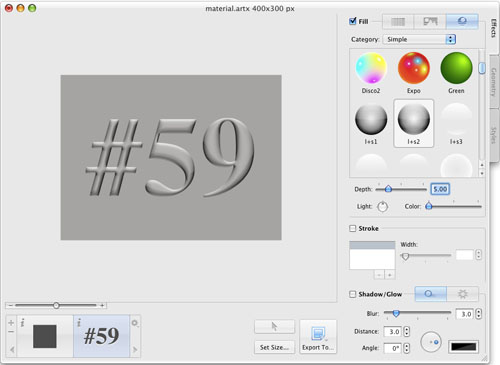
- Select the text layer. In the material library, choose the l+s2 material from the Simple category (you can also use l+s1).

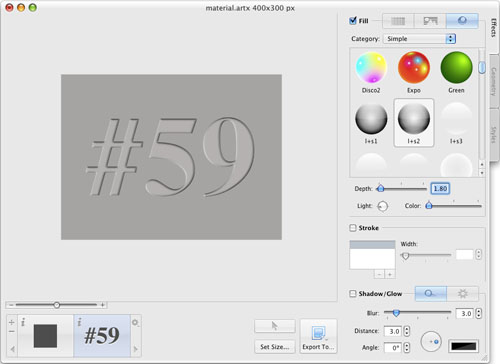
- Adjust the material effect. Set the light angle to approximately 200 degrees (turn the Light control to the left position). Set Depth to 1.8 (values between 1 and 2 give good results).

To make the effect more realistic, apply a texture to the background.

We have only two layers in the sample document. An important advantage of the used method is that you can easily modify text or choose other icon.
To be able to modify the brightness and color of the engraved letters, you have to add more layers atop of others. This will require modifying more layers when you edit text.
Using the Join Operation with Several Layers
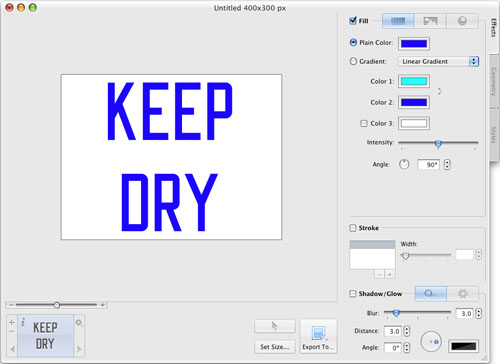
- Type your text or choose an icon. You can also combine them in the design. Deselect the Shadow/Glow check box.

- Add a rectangle or other shape that will be used as the background. Select the shape and choose Format > Resize to Document. Deselect the Shadow/Glow check box.
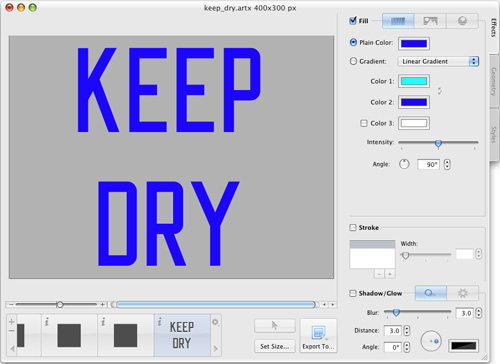
- Create two more copies of the rectangle using Edit > Duplicate (Cmd-D). Place the copy behind other layers (drag its icon to the leftmost position in the Layer bar). We'll use the duplicates for a texture and background.
- Move the rectangles behind the text layer. To do this, drag their icons to the leftmost position in the main window.

- Select the text and background layers and choose Layers > Join.
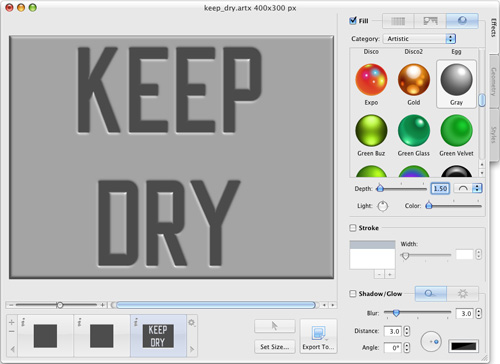
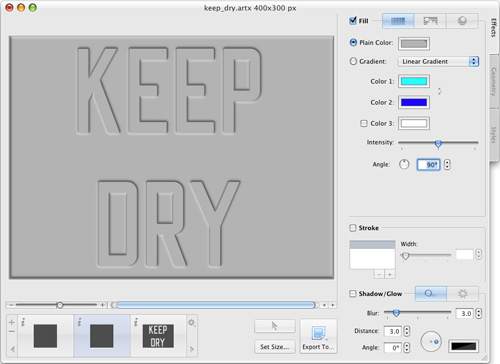
- Apply the Gray material from the Artistic category. For a better result, you can create a custom gray material that doesn't have pure white and black colors.
- Set the Depth parameter to 1.5 (values from 1 to 2 are usually acceptable). Set the Light angle so as the light drops from the top right corner of the preview area.

- Set the color of the background layer identical with the plain part of the layer with depressed text. The background layer is right behind the text. You can see it through the letters. Click the corresponding color button and use the color picker tool in the Colors panel.

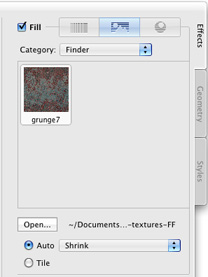
- The layer whose icon is in the left position was reserved for a texture. Move this layer in front of others (to the rightmost position). Then choose a texture in the Effects pane. To select a texture on your hard drive, select Finder in the Category drop-down menu. Click the Open button and select a graphic file or folder with images. To apply a texture, select its thumbnail.

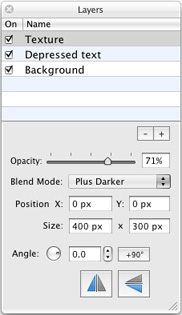
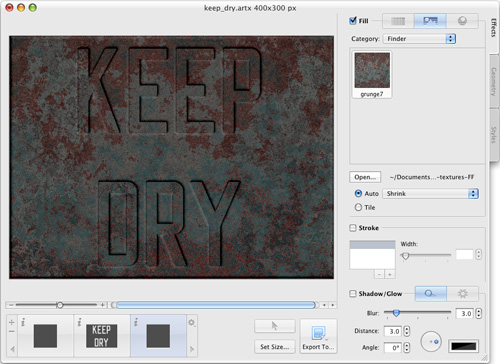
- Open the Layers panel (Cmd-L) and set the Blend Mode of the texture layer to Plus Darker. Adjust the Opacity so that the colors look natural (it's approximately at 65–80%).

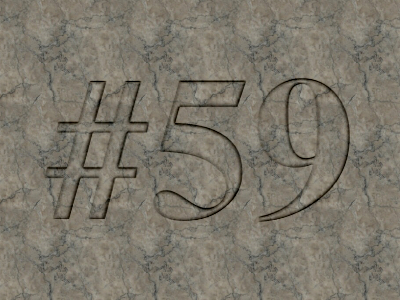
Finally we have this:

Next: Bas-relief Text. Consider Details to Create Perfect Images
© 2016 Nick Shubin. All rights reserved.
